Today is an exciting day because it is the one year anniversary of Cedar Quilt Co! I honestly can’t believe it has already been a whole year. It’s been an amazing experience releasing patterns, learning more about quilting, and sharing it all with you. I can’t wait to see what the next year brings!

To mark this anniversary, I want to revisit our Playful Placemats pattern this week. This was my very first pattern and so it is very near and dear to my heart. I love how much fun it is to make and how much information we included in it (hello, beginners)! Not only that, but it is FREE!
The Playful Placemats pattern is FREE for our newsletter subscribers! Sign up using the link below to get this free pattern. If you are already subscribed, simply sign up again using the same email, you wont be added to the newsletter twice.
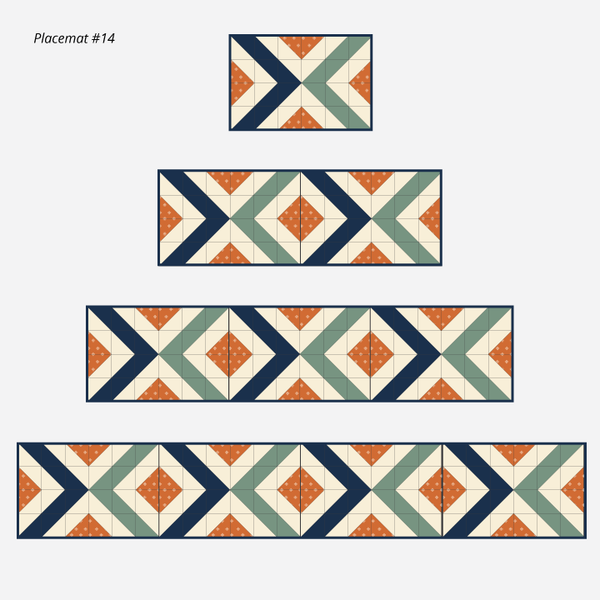
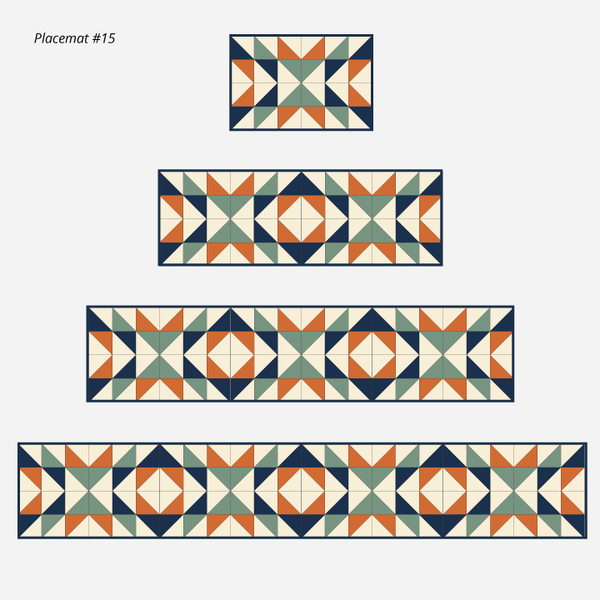
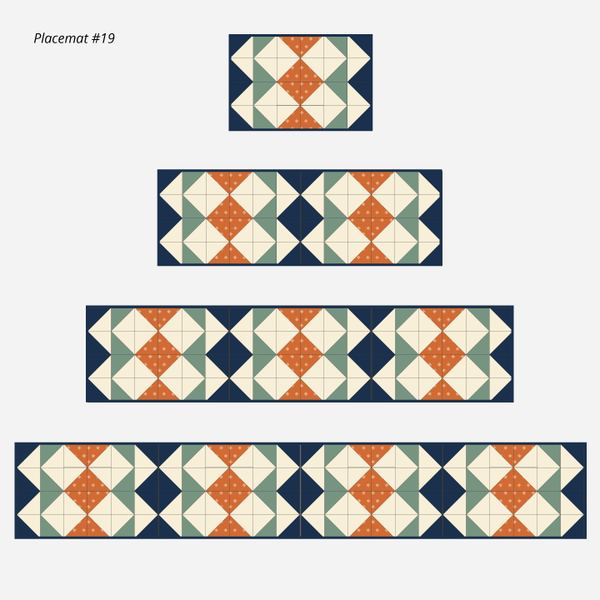
Playful Placemats comes with 24 different layouts that you can choose from. Each placemat uses 24 HSTs (half square triangles) so it felt right to include 24 layout options. Today I want to show you how you can combine multiple placemats into a table runner! Combine 2, 3, or even 4 placemats and get a table runner that is right for your table size.


Playful Table Runner Sizes
The Playful Table Runner ends up being 12” wide. If you wish to make the runner wider or narrower, you can scale the whole project up/down by making the HSTs larger/smaller. Consult our blog post about making 8-at-a-time HSTs for a handy cut chart.
|
2 placemats |
3 placemats |
4 placemats |
|
|
Width |
12” |
12” |
12” |
|
Length |
36” |
57” |
72” |
Changes To The Pattern
Minimal changes are needed to make a table runner instead of placemats. You will need to cut a backing that will fit the table runner size you choose, or sew together several pieces of fabric to create a backing.
To make 3 placemats, follow the fabric requirements for 4 placemats. When cutting, only cut the number of 8.25" squares you need (3 of each colour and 9 background).
You can use the free calculators over on Quilters Paradise to find out exactly how much backing and binding you will need.
Once you have chosen your layout, I recommend sewing the table runner together by assembling each column and then sewing the columns together. This works better than assembling each row because the rows end up quite long on the longer runners.
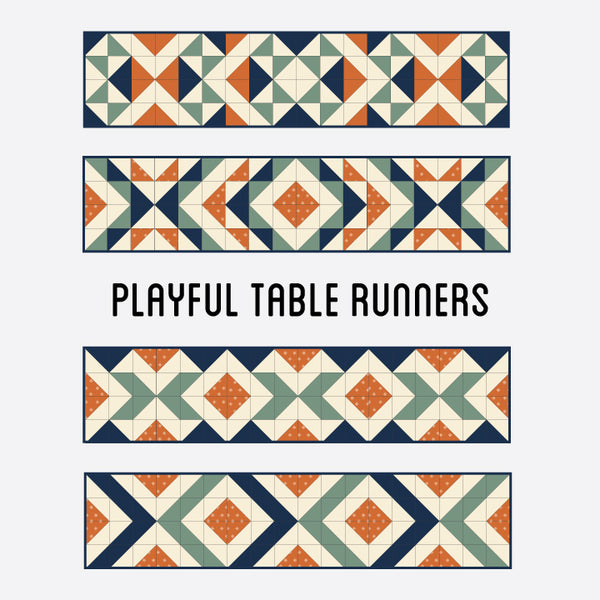
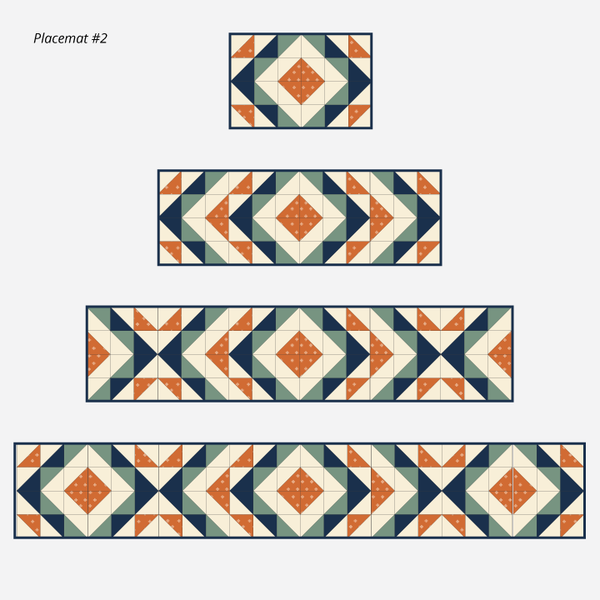
Playful Table Runner Layouts
I have mocked up several of the placemat layouts as table runner layouts. This first batch of table runners simply has you sew the placemat as-is and then sew multiple placemats together. This is the easiest way to combine the placemats into a table runner.

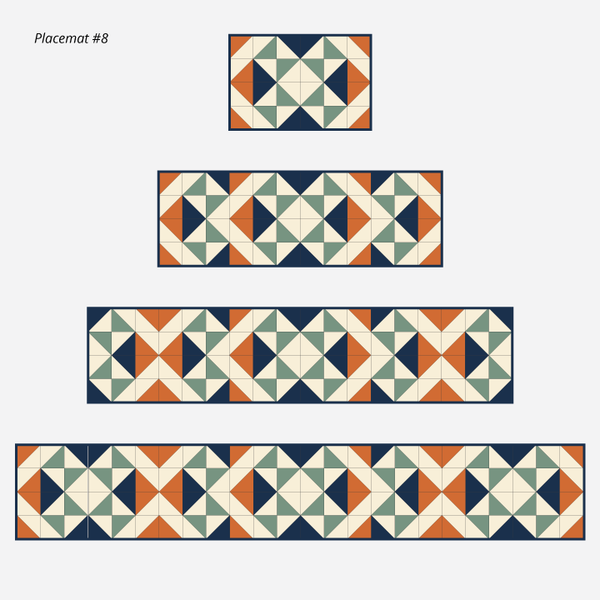
This next batch of table runner layouts has you split the placemat tops in half and sew them on either side of a center placemat. This creates a radiating outwards effect. In some cases, I have even turned the sides around to create new patterns. You can play around and experiment to find out what you like best!

The other Playful Placemat layouts can be turned into table runners, too! I just mocked up the ones I was most inspired by. Comment on this post if you want to see a specific placemat layed out as a table runner and i’ll add it in! Please share your Playful Table Runner with me if you do decide to make one.
Happy Quilting!

The Playful Placemats pattern is FREE for our newsletter subscribers! Sign up using the link below to get this free pattern. If you are already subscribed, simply sign up again using the same email, you wont be added to the newsletter twice.